
As an expert vehicle wrapping shop in Toronto, we take pride in our ability to transform the appearance of cars, trucks, buses, boats, and more. At Vinyl Wrap Toronto, we are committed to delivering high-quality work with exceptional attention to detail and fast turnaround times.
Our team of skilled professionals is passionate about their craft, utilizing the latest technology and techniques to ensure every wrap is done to perfection. From design to installation, we work closely with our clients to understand their unique vision and bring it to life.
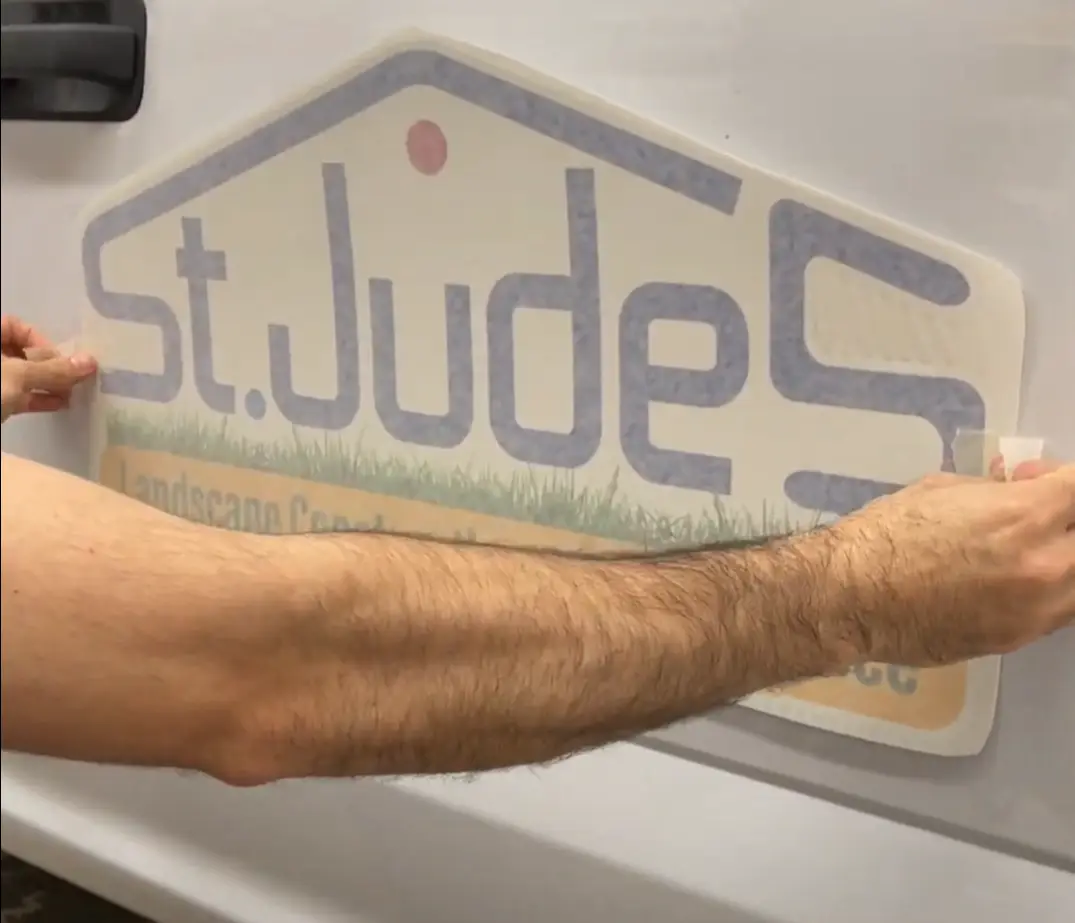
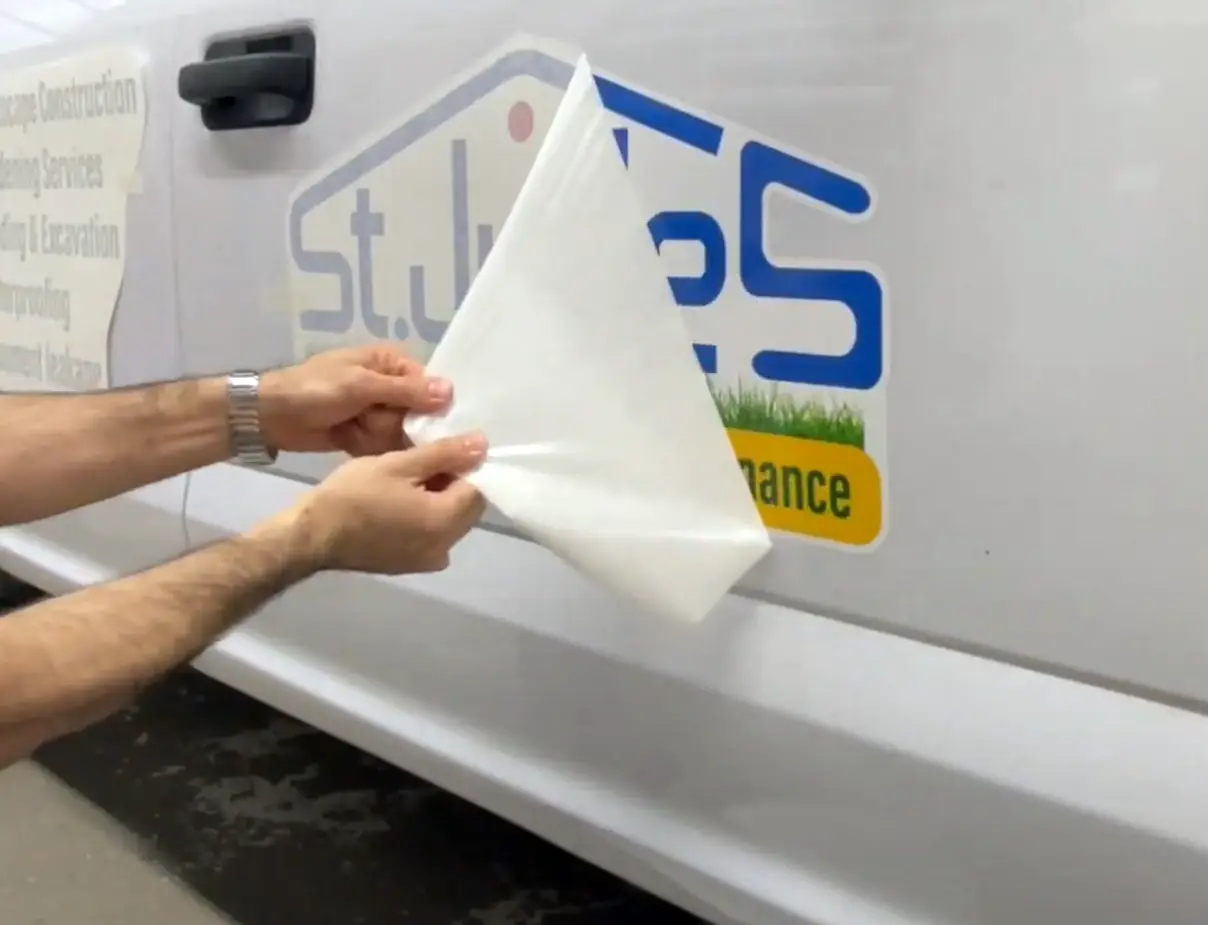
One of our recent projects involved installing commercial decals on a Ford F-150 Crew Cab for St. Judes, a landscaping, construction, and maintenance company based in Toronto. We used Avery Dennison Vinyl for the decals and suggested a white background to maintain the intricate details of their logo while reducing labour time. Our team meticulously measured and placed the decals, completing the job in just two hours.
We are dedicated to providing exceptional customer service, offering transparent communication and consultation throughout every step of the process. At Vinyl Wrap Toronto, we guarantee satisfaction with every job we do.
Installation Process for St. Judes’ Ford F-150 Crew Cab
Step 1: Cleaning and Preparation of the Surface
The first step in the installation process is to clean and prepare the surface where the decals will be placed. This ensures that the surface is free of dirt, dust, and debris, which can affect the adhesion of the decals. Our team at Vinyl Wrap Toronto used mild detergent and water to clean the surface of the Ford F-150 Crew Cab thoroughly. We then wiped the surface dry with a clean towel.
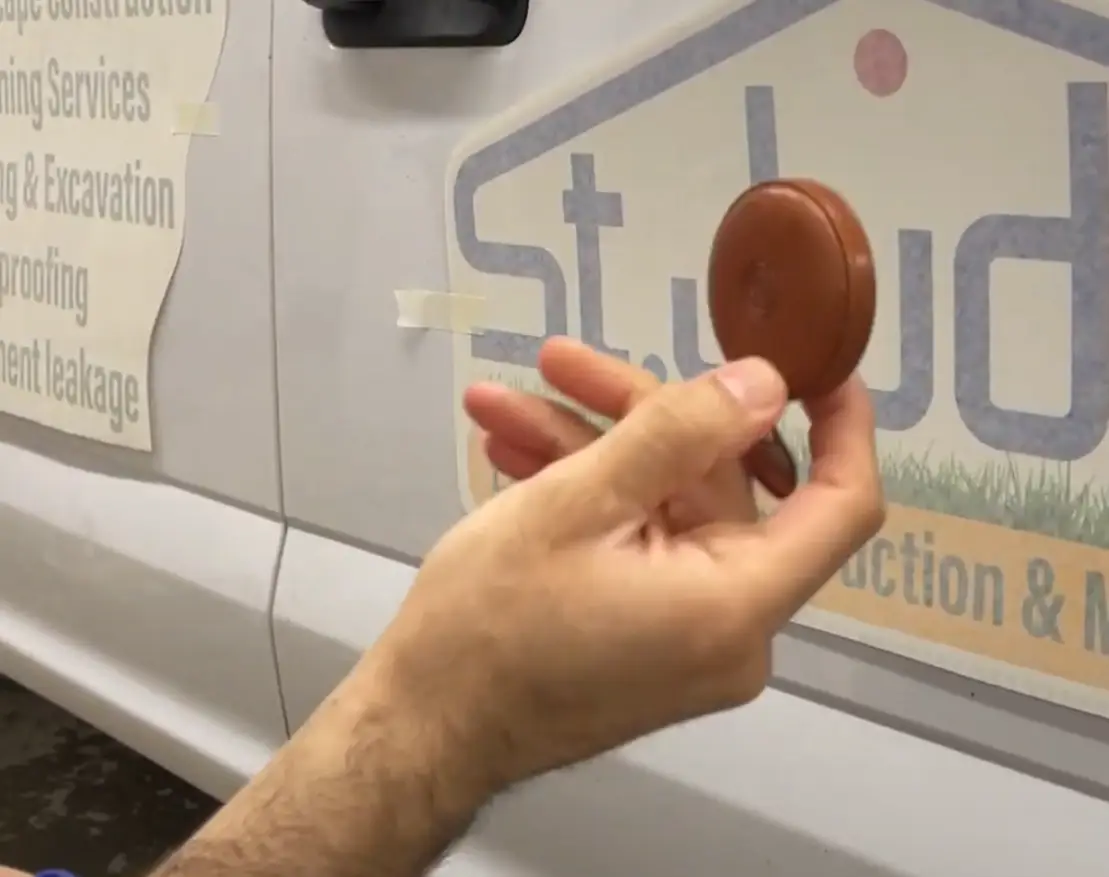
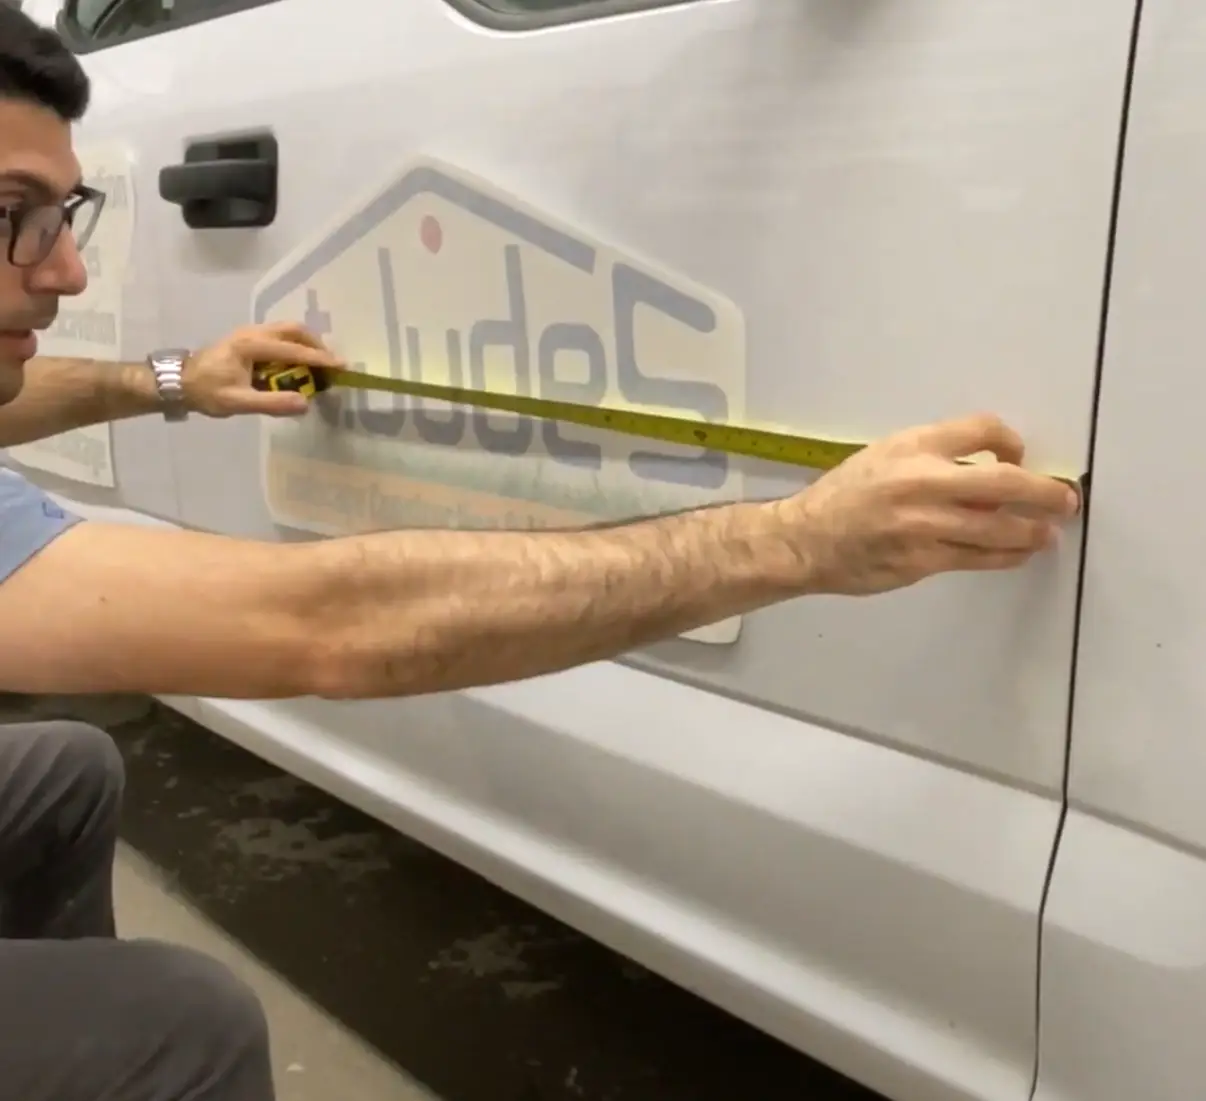
Step 2: Measuring and Placement of the Decals
The next step is to measure and place the decals on the surface. Our team carefully measured the size and placement of each decal to ensure that they were correctly positioned on the Ford F-150 Crew Cab. We then marked the placement of the decals with masking tape to guide us during installation.
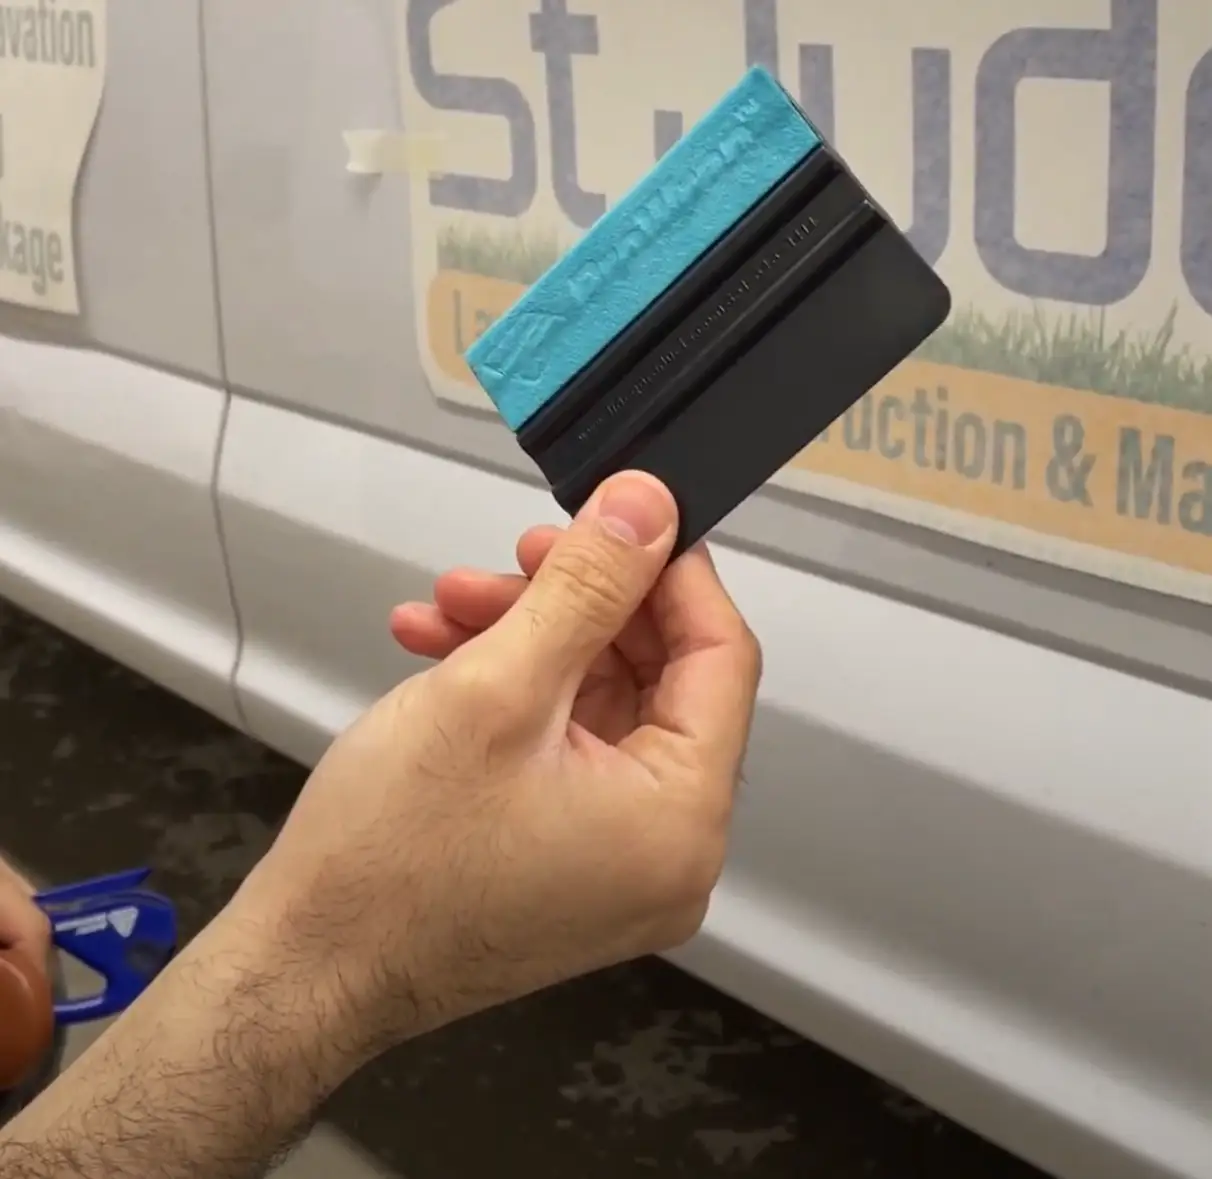
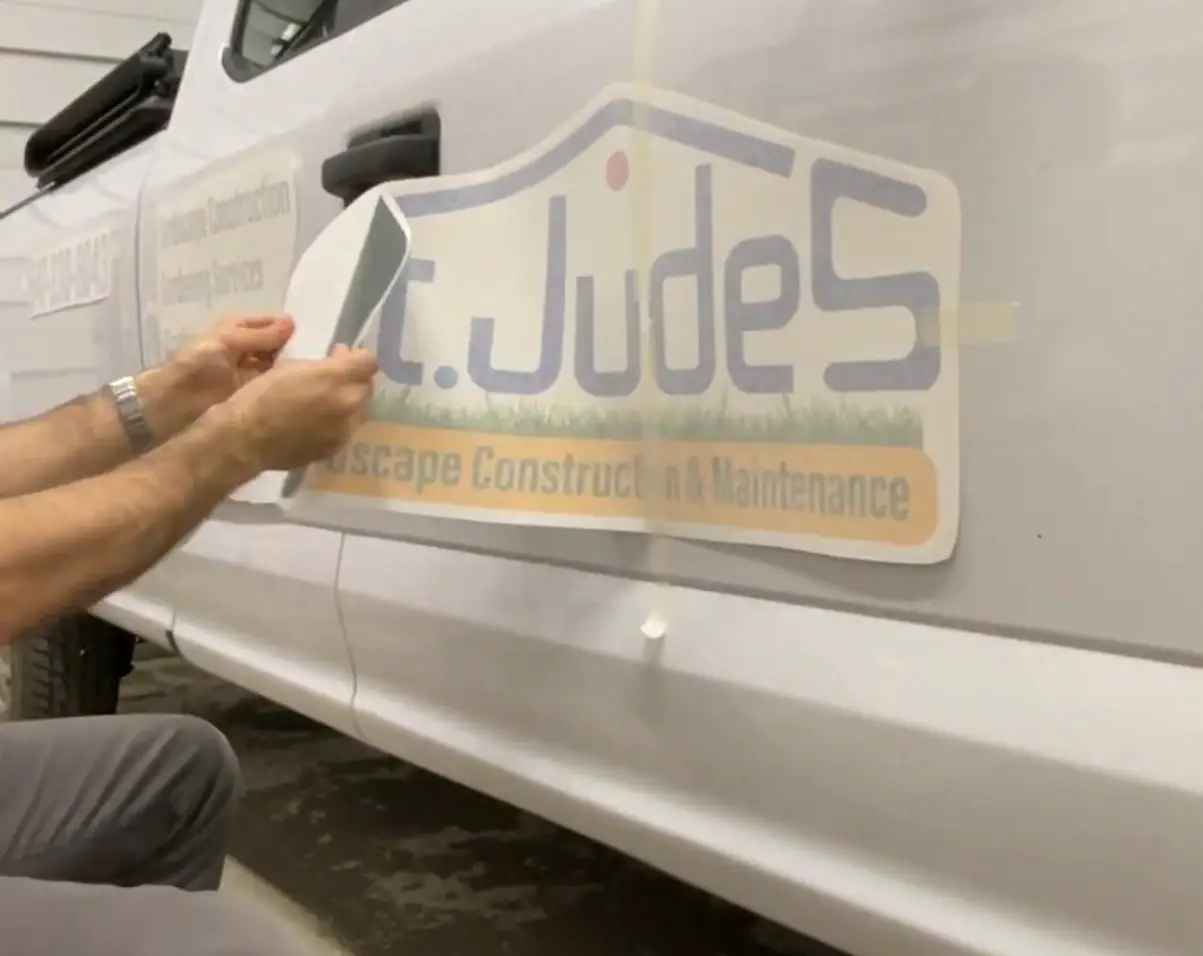
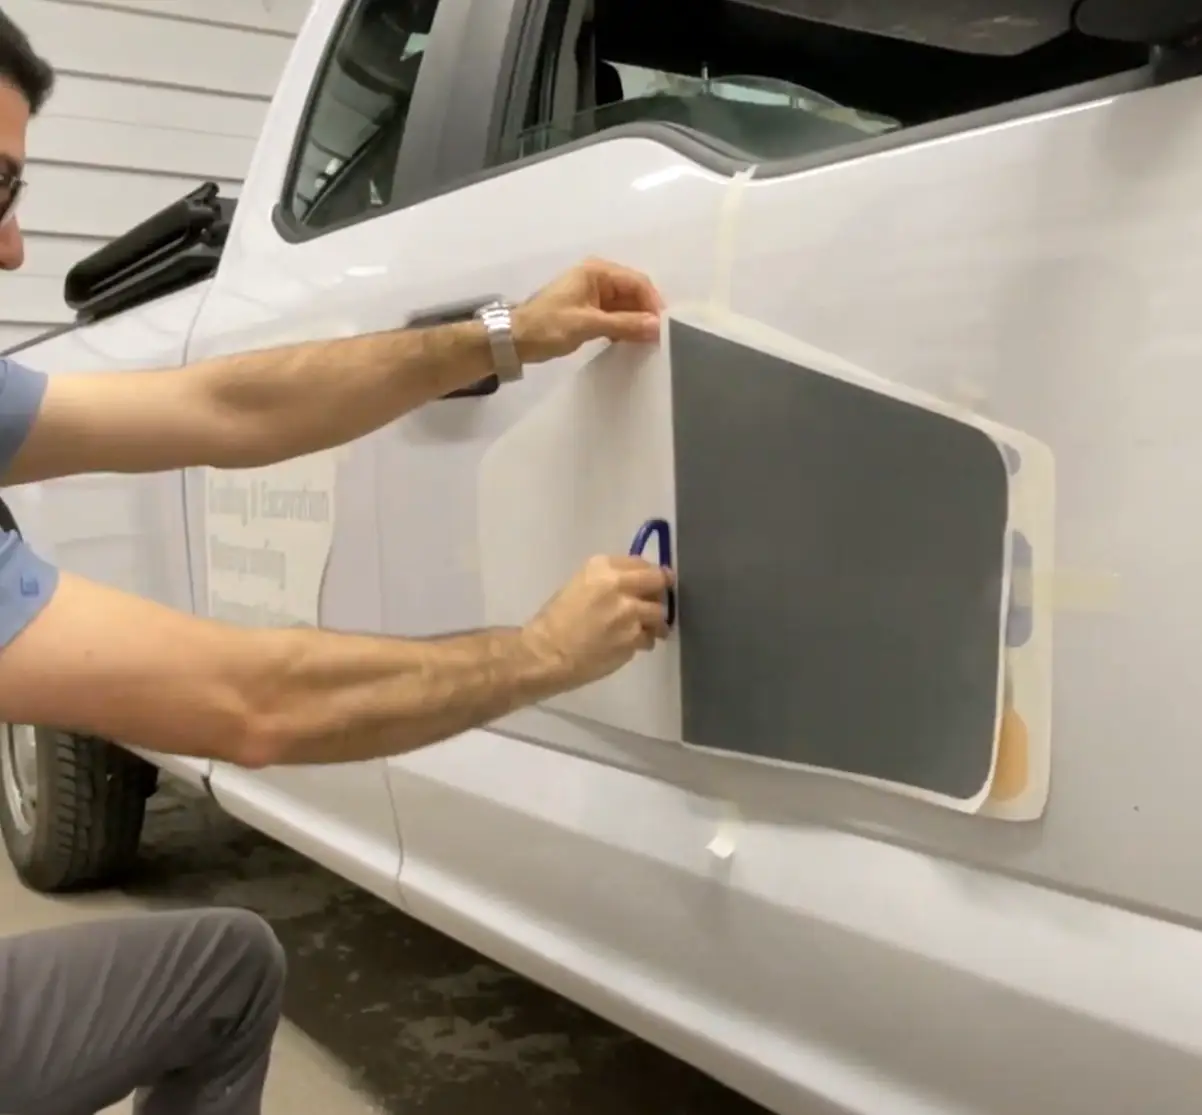
Step 3: Peel and Stick Application
Once the decals were accurately measured and placed, we moved on to the peel-and-stick application. We carefully removed the backing paper from the decals, ensuring that we did not touch the adhesive side of the vinyl. We then lined up the decals with the marked placement and began to apply them to the surface of the Ford F-150 Crew Cab. We used a squeegee to press the decals onto the surface, removing any air bubbles or creases in the vinyl.
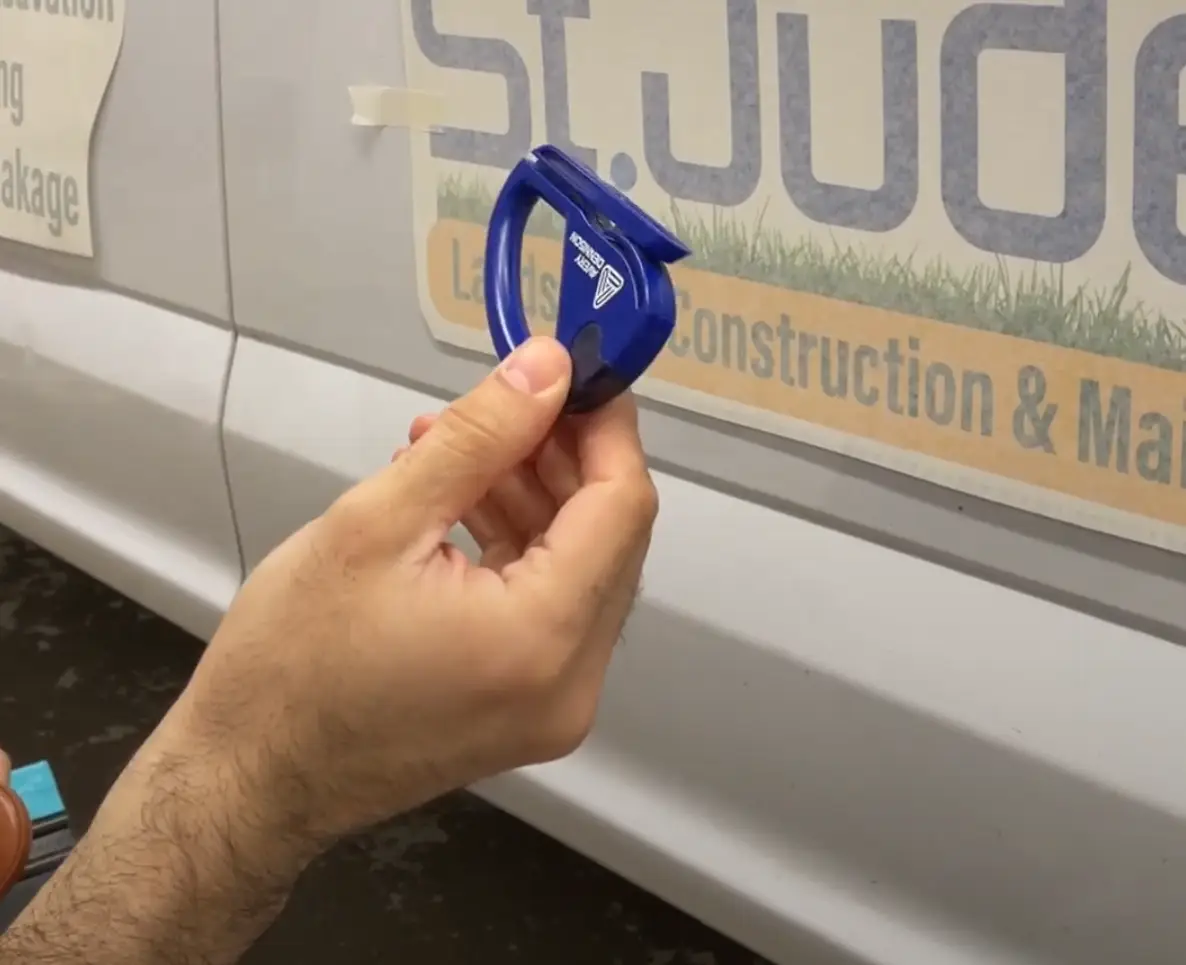
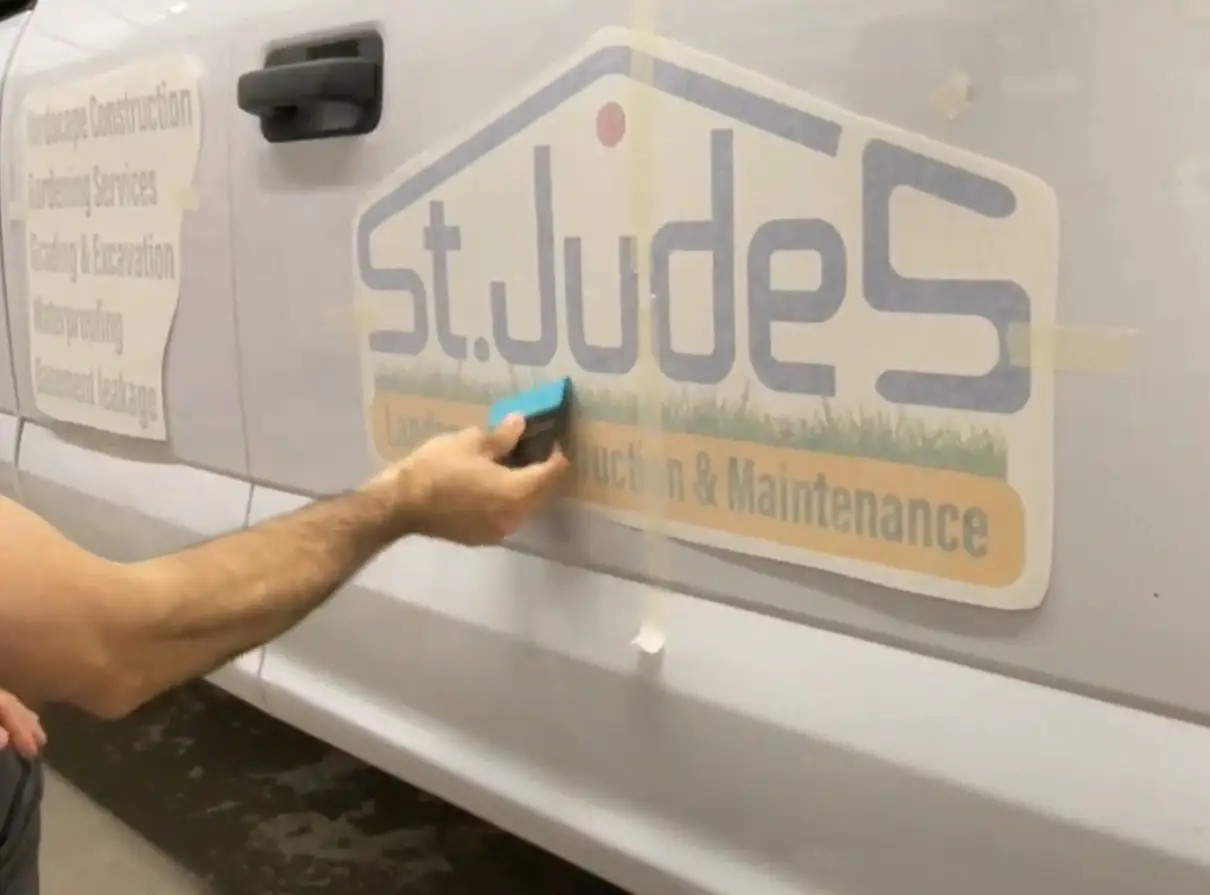
Step 4: Trimming and Finishing Touches
After the decals were installed, we carefully trimmed off any excess vinyl using a sharp knife, ensuring that the edges were clean and straight. We also added any finishing touches, such as applying a heat gun to the edges to ensure that the vinyl adheres correctly.
Step 5: Final Inspection and Quality Check
Once the installation was complete, we performed a final inspection and quality check to ensure that the decals were installed correctly and met our standards of quality. We checked for any bubbles, wrinkles, or creases in the vinyl and made any necessary adjustments to ensure that the decals were perfect. Our team also examined the edges and corners of the decals to ensure that they were securely attached to the surface of the Ford F-150 Crew Cab.


The installation process for St. Judes’ commercial decals on the Ford F-150 Crew Cab was carefully executed by the team at Vinyl Wrap Toronto, ensuring a perfect outcome for our client.
Steps for DIY Decal Installation at Home
If you are looking to install decals at home, it can be a fun and rewarding project. Here are the steps to follow for a successful DIY decal installation:
Step 1: Gather the Necessary Tools and Materials
To start, gather all the tools and materials you will need for the project. You will need a vinyl decal, transfer tape, squeegee, ruler, cutting tool, masking tape, and a clean cloth.


Step 2: Clean the Surface
Before installing the decal, ensure that the surface where you want to place it is clean and free of dirt, dust, and debris. Use a mild detergent and water to clean the surface thoroughly, and then wipe it dry with a clean cloth.
Step 3: Position and Secure the Decal
Carefully position the decal on the surface and secure it in place using masking tape. Use a ruler to ensure that the decal is straight and centred.


Step 4: Remove the Backing Paper
Carefully remove the backing paper from the decal. Start at one corner and gently pull the paper away from the transfer tape and vinyl decal.


Step 5: Apply the Decal to the Surface
With the backing paper removed, it’s time to apply the decal to the surface. Use the squeegee to press the decal onto the surface, starting from the center and working your way outward. Be careful not to create any air bubbles or wrinkles in the vinyl. Repeat Steps 4 & 5 for the other half of the decal.

Step 6: Remove the Transfer Tape
Once the decal is applied, it’s time to remove the transfer tape. Gently pull the transfer tape away from the vinyl decal at a 45-degree angle. Make sure that the vinyl decal stays attached to the surface while removing the transfer tape.


Installing decals at home is a simple and rewarding project. By following these steps, you can achieve a professional-looking result without the need for professional installation. Remember to take your time, be patient, and enjoy the process.
Conclusion
In conclusion, the installation of commercial decals for St. Judes’ Ford F-150 Crew Cab was a successful project. We followed a detailed process, including cleaning and preparing the surface, measuring and placing the decals, peel and stick application, trimming, and quality checks. Our use of Avery Dennison Vinyl and the decision to go for a white background reduced the labour and maintained the detail of the logo.
For those interested in DIY decal installation at home, the process is simple and rewarding, as long as you have the necessary tools and materials and follow the steps carefully. Remember to take your time, be patient, and enjoy the process.
However, for those who prefer professional installation services, we invite you to visit Vinyl Wrap Toronto. We specialize in vehicle wraps, commercial decals, and custom graphics. Our experienced team uses only the highest quality materials to ensure a flawless installation that meets your specific needs. Contact us today to learn more about our services and how we can transform your vehicle or business with eye-catching graphics.
Call us at 416-746-1381


